What keeps an asphalt driveway looking fresh and strong through years of daily use? Sun, rain, car tires, and oil spills can slowly wear down the surface. Over time, small cracks may form and allow water to reach the layers below.
Driveway sealcoating adds a protective layer that helps guard against these common problems. However, getting good results takes more than spreading a coating over the pavement.
Each step matters, from cleaning and repairs to careful application and drying. This guide explains how the work is done and what homeowners can expect at every stage.
Checking The Driveway Before Work Begins
A good job starts with a close look at the pavement. The crew checks for cracks, holes, loose stones, and worn areas. This review helps them decide which repairs are needed before applying the coating.
The team also checks the weather and the age of the asphalt. New pavement needs time to cure, while wet surfaces can prevent the coating from sticking well. These checks help ensure better results and lasting pavement protection.
Preparing A Clean, Dry Surface
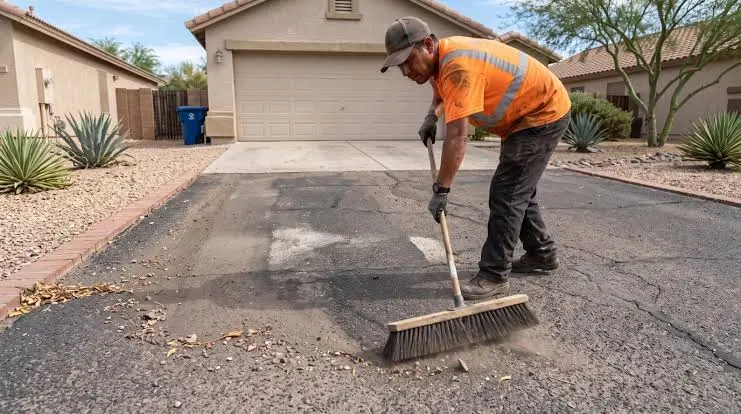
Driveway surface preparation is a key part of the asphalt sealcoating process. Workers remove dirt, leaves, grass, and loose stones with brooms or blowers. They also clean oil stains because these spots can stop the sealant from bonding.
Edges near walls, plants, and walkways may be covered to prevent unwanted stains. Workers also move or protect nearby items before starting. The driveway must be fully dry so the coating can stick to the asphalt.
Repairing Cracks And Damaged Areas
Before applying the main coat, workers handle driveway crack repair and fill small holes. They use special fillers that help close gaps and keep water out. Each repair must set properly before the next step begins.
Larger holes or weak areas may need extra work. A crew may patch or rebuild these spots because sealcoating cannot fix deep damage. Making repairs first helps the finished surface last longer.
Applying The Protective Coating
Once the surface is clean, dry, and repaired, the crew prepares the sealant. Workers spread it in even layers using brushes, squeegees, or spray tools. They take care to cover the whole driveway without leaving thick spots or bare areas.
Some driveways need a second coat for better coverage. The crew follows the product directions to decide when another layer can be added. Proper asphalt driveway maintenance also means keeping cars off the surface until it is fully dry.
Getting Help From A Skilled Local Crew
The right crew knows how to prepare the pavement, choose suitable products, and apply each coat with care. Homeowners can explore beacon sealcoating to learn more about local paving services. Asking about repairs, coating types, and drying times can also help homeowners make a smart choice.
Give Your Driveway Better Protection
Sealcoating works best when it is part of regular driveway care. Check the surface often, remove dirt, and repair new cracks before they grow. These simple steps can help prevent water damage and reduce the need for costly repairs.
With proper driveway sealcoating, homeowners can help protect their pavement from daily wear and harsh weather. The right preparation, repairs, and coating all play a part in good results. Knowing what each step involves makes it easier to plan the work and care for the finished surface.
Did this guide help you? Browse the rest of this section for more advice on a variety of topics.
Also Read
- https://punssmile.com/gut-first-or-metabolism-first-how-to-prioritise-your-supplement-routine/
https://punssmile.com/quality-custom-barbie-doll-boxes-for-retail-display-use/
https://punssmile.com/legal-steps-after-a-drug-charge-in-richmond-virginia/