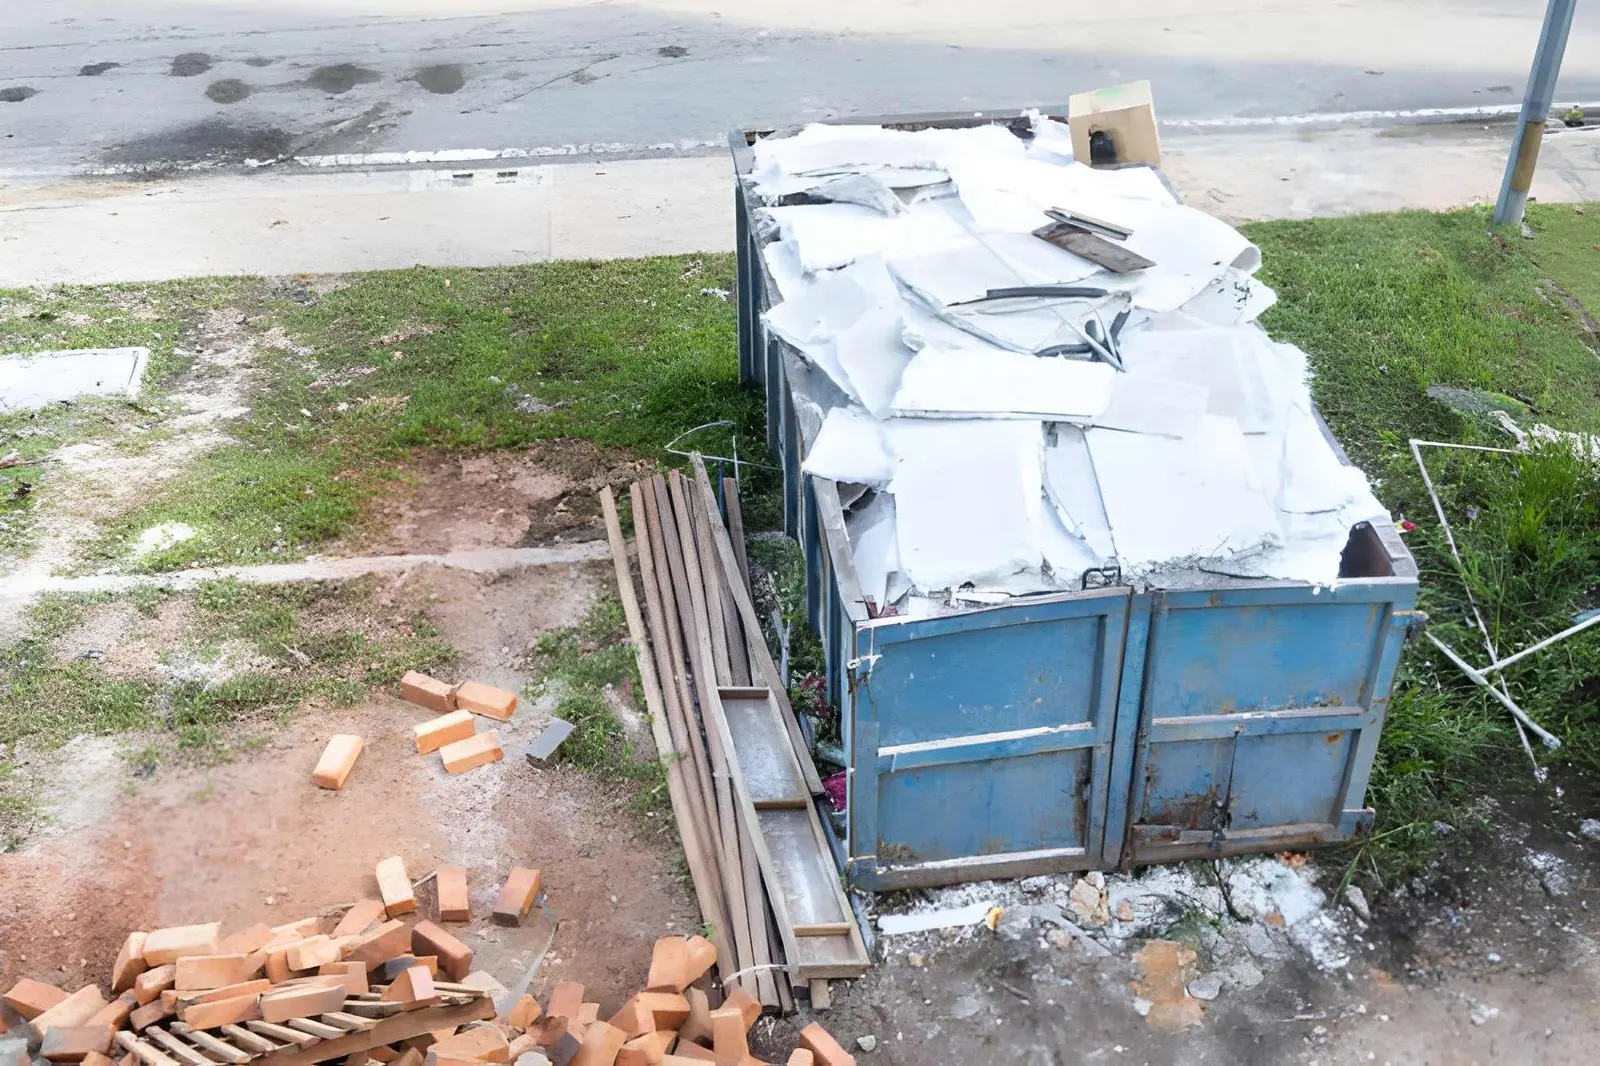
Removing old walls, tile, and fixtures is often one of the messiest stages of a home renovation. Even a relatively small bathroom, kitchen, or basement project can produce a large amount of debris once demolition begins. Drywall, plaster, tile, cabinets, sinks, vanities, trim, and other materials can quickly overwhelm standard household trash bins.
A dumpster rental can give homeowners a central place to collect demolition waste while keeping the work area more organized. Planning for disposal before tear-out starts helps prevent debris from becoming an obstacle during the rest of the project.
Estimate the Debris Before Demolition
It is easy to underestimate how much space removed materials will take up. Walls that seem thin when installed become bulky once drywall, framing scraps, insulation, and trim are taken apart.
Tile can also create significant weight, especially when flooring, backer board, mortar, or older materials are being removed at the same time. Fixtures such as sinks, vanities, toilets, and built-in cabinets add even more volume.
Homeowners planning a larger DIY gutted house project should consider waste removal as part of the demolition plan rather than waiting until debris begins piling up.
Work in Sections
Demolition is easier to control when one area is completed before moving to the next. Instead of tearing out several rooms at once, homeowners can remove one wall, fixture group, or section of flooring and then clear the debris.
Working this way keeps pathways open and gives homeowners more room to use tools safely. It also makes it easier to identify hidden conditions such as water damage, deteriorated framing, or old repairs that may need additional attention.
Section-by-section cleanup helps prevent the project from becoming cluttered and difficult to manage.
Separate Heavy Materials
Some demolition debris is much heavier than it appears. Tile, mortar, plaster, and certain masonry materials can add substantial weight quickly.
Keeping dense materials separate from lighter waste can make loading and cleanup easier. Homeowners should avoid creating unstable piles or overloading smaller containers with material that is difficult to move safely.
It is also important to confirm what materials can be placed together before disposal. Not every type of construction debris is handled the same way.
Create a Clear Removal Route
Debris often has to travel through finished areas of the home before reaching the driveway or outdoor collection point. Establishing a clear route before demolition begins can help protect floors and reduce unnecessary mess.
Floor coverings can be placed along hallways or doorways, and furniture should be moved away from the path. Tools, boxes, and replacement materials should also be kept out of the route.
A direct path allows debris to move from the work area to the disposal location without creating temporary piles inside the home.
Use a Central Disposal Area
When multiple materials are being removed, one central collection point can simplify the entire project. Rather than storing debris in garages, yards, and several rooms, homeowners can move it directly to one location.
For larger renovation projects, a provider such as Waste Removal USA can provide an on-site disposal option for common demolition debris. This reduces repeated handling and can help limit the number of separate hauling trips required during the project.
Good placement should allow easy access while avoiding blocked driveways, doors, or contractor work areas.
Handle Fixtures Carefully
Old fixtures may contain glass, sharp metal, porcelain, or other materials that can break during removal. Sinks, toilets, mirrors, vanities, and cabinets should be handled carefully and disassembled when practical.
Removing drawers, doors, or detachable components can make larger pieces easier to carry. Homeowners should also wear gloves and sturdy footwear when handling broken tile, sharp hardware, or exposed fasteners.
Careful removal reduces the chance of injury and helps protect surrounding surfaces.
Clean Up as the Project Progresses
Waiting until demolition is completely finished often creates a larger mess than necessary. Regular cleanup keeps the work area open and prevents small debris from becoming buried beneath larger materials.
Drywall scraps can be removed before framing or electrical work begins, and tile debris can be cleared before floor repairs start. Packaging from replacement fixtures should also be broken down and removed soon after delivery.
Frequent cleanup makes each phase easier to manage and prepares the space for the next stage of renovation.
Removing old walls, tile, and fixtures can generate a surprising amount of construction debris. Homeowners can make the process easier by estimating waste early, working in sections, separating heavy materials, and maintaining a clear route to one central disposal area.
A consistent cleanup plan keeps demolition more organized and helps the renovation move forward without unnecessary clutter or delays.
Also Read-High Meaning What It Really Means in Different Contexts










1 thought on “Dumpster Rentals for Removing Old Walls, Tile, and Fixtures”